
Check the contents
Vector Vario packaging is deliberately minimal.
Vector Vario comes with its carrying case and an 8 GB microSD card.
A standard USB Type-C cable is not included.
Switch on and off
Fully charge the battery before first use.
The Vector Vario interface consists of a button and an LED.
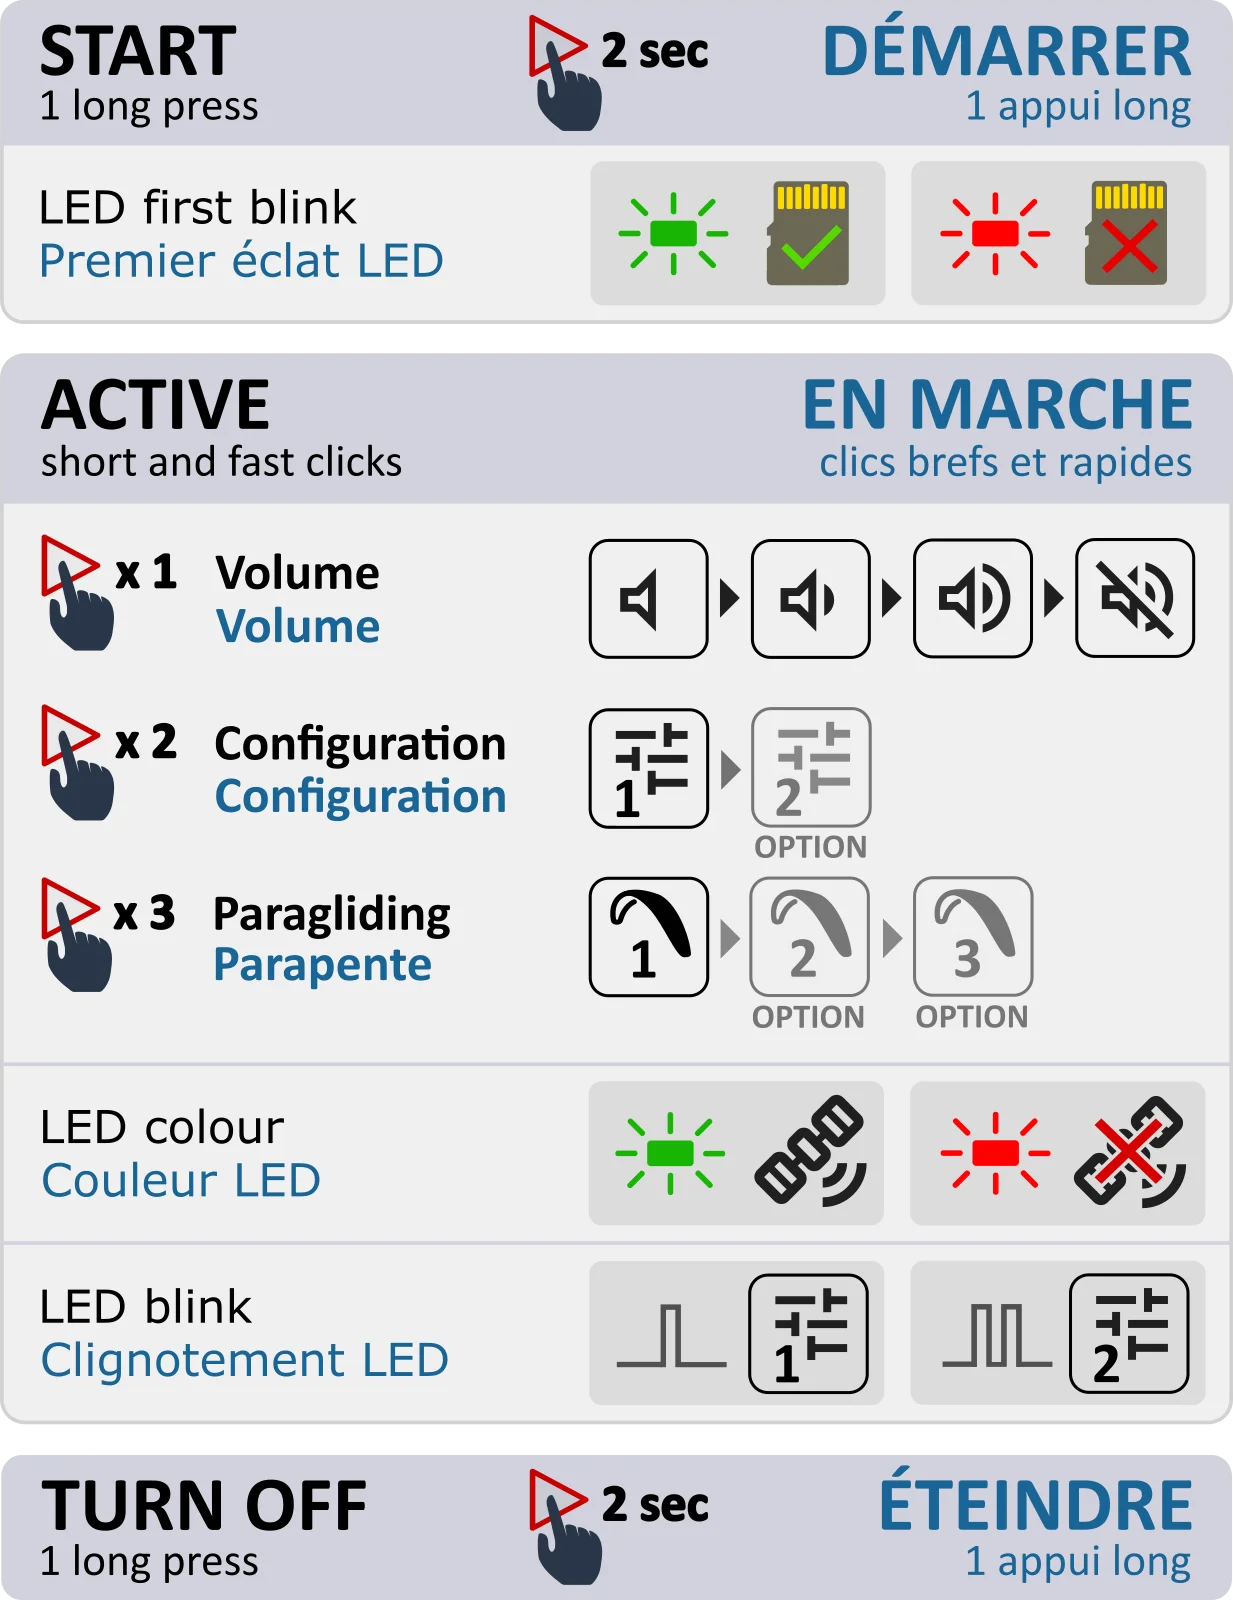
- Switch on your vario. A green first LED flash means the SD card has been detected.
- Check the selected wing profile (3 clicks).
- Check the selected configuration (2 clicks).
- Check the volume (1 click).
Attach the vario
Attach Vector Vario only at the base of the left riser, on the inside, where it cannot interfere with the speed bar.
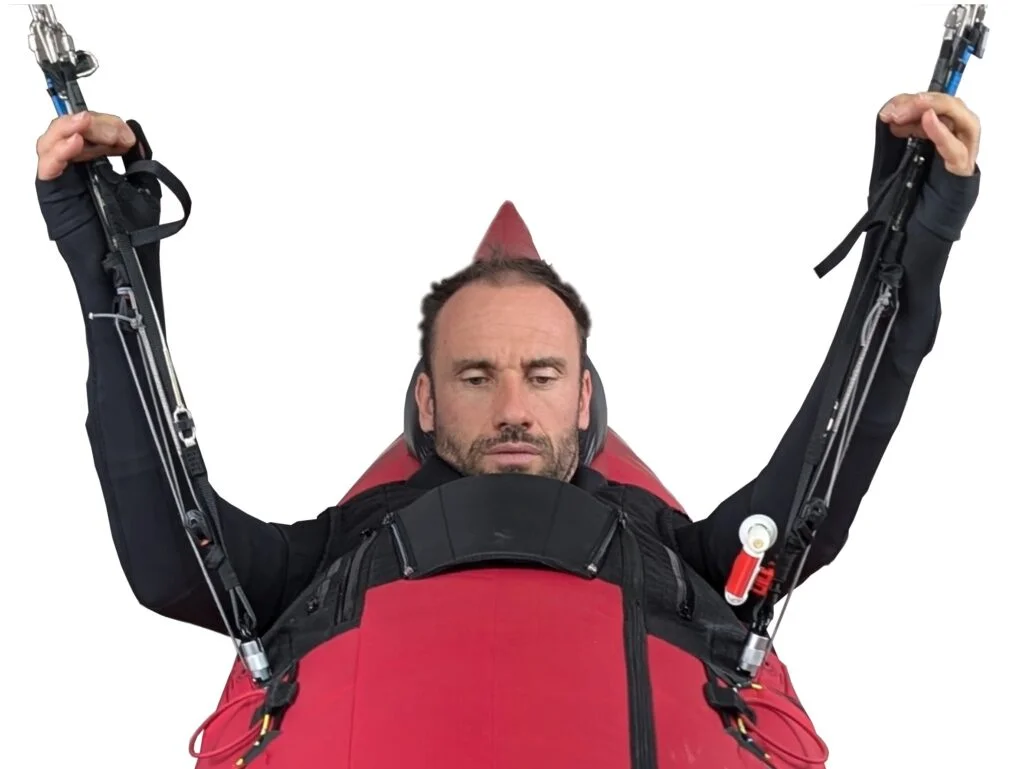
In flight, align Vector Vario with the flight axis. A deviation of ±20° is tolerated without affecting its performance.
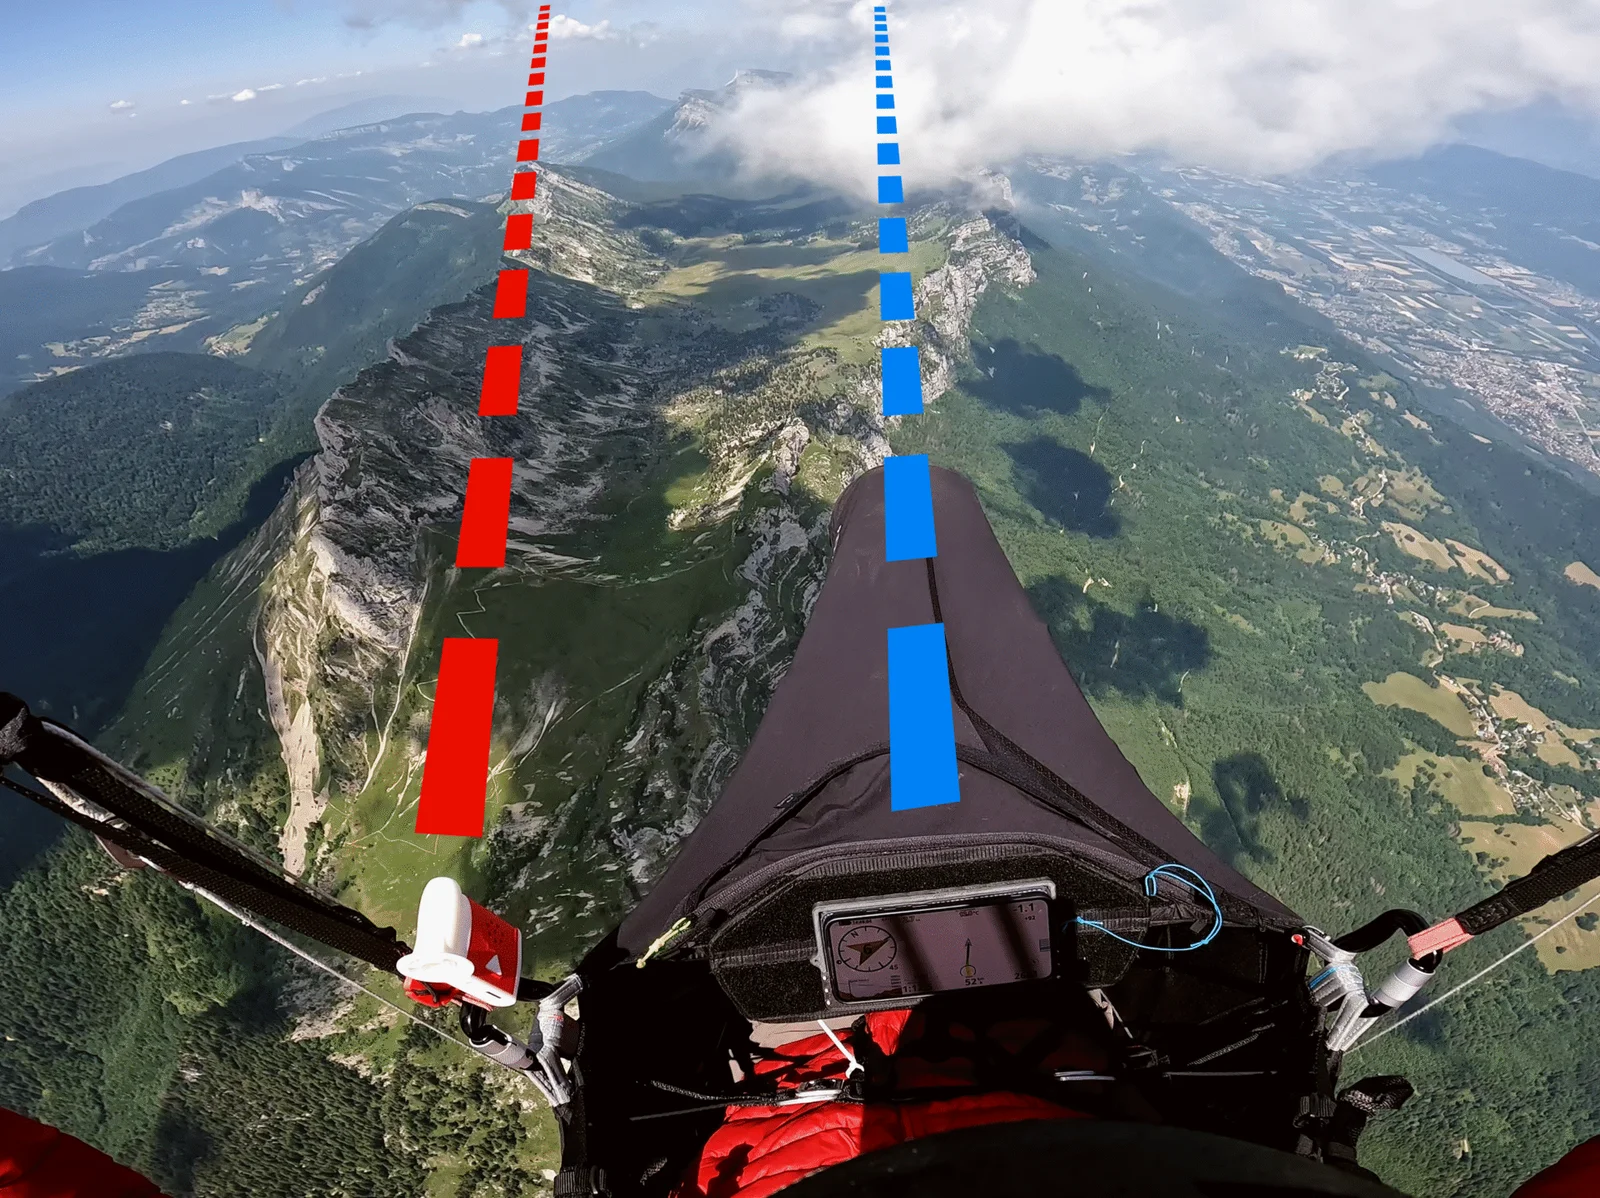
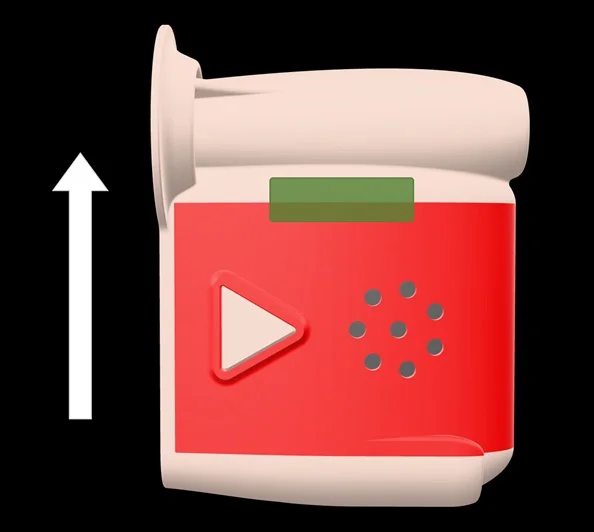
The GPS uses an active ceramic antenna at the top of the unit (green rectangle). This position is ideal in flight. On the ground, point Vector Vario upwards for faster acquisition.
- Include checking your Vector Vario installation in your pre-flight checks. It must not obstruct any part of the paraglider.
- After take-off, wait until you are settled in your harness, away from terrain and in stable air before correcting its alignment (a movement of the elbow is usually enough). Climb-rate indication remains available during this time.
- The algorithm needs a few turns to initialise fully, particularly for wind detection. This usually takes less than one minute.
- Arms held against the risers can disturb the airflow and distort measurements.
- Keep UHF/VHF transmitters and strong magnets away from the vario, as they may disturb its magnetometer.
- On thin risers, cross the elastic loop before locking it if the tension is too low.
- In an open harness, extend your legs to see the flight axis more clearly and align the unit.
Open the Configurator
This short video shows how to connect Vector Vario to a smartphone and configure it. Many options are available, so enable them gradually while learning the instrument.
Preferably use Chrome, Brave or Edge on a Bluetooth Low Energy device. Pair the instrument directly from the Configurator, not from the operating system settings.
- Switch on Vector Vario.
- Open the Configurator.
- Click Connect.
- Select the device whose name starts with [VV].
- Confirm authentication with four short clicks when the LED flashes blue.
Before your first flight
As a minimum, enter the wing you use: either its name to find the exact model in the list, or its defining characteristics (projected area and flat aspect ratio). You must also specify your harness type and all-up weight. These data are needed to calculate the sink rate used by Netto and Release & Rise.
- Install the Configurator as an app on your phone so you can access it offline.
- If you use Release & Rise or Netto, prepare a second configuration without these options so you can disable them in flight (double click).
- If you have several wing profiles, check the selected profile before take-off (triple click).
- At take-off, the flashing LED first changes from red to orange (usually in under one minute). Wait a further 30 seconds for it to turn green before taking off, to ensure a valid FAI CIVL IGC recording.
Full help
Full help for Vector Vario and its Configurator is available in the Configurator help. Installing the Configurator on your smartphone keeps the complete help close at hand, even offline.
View full help